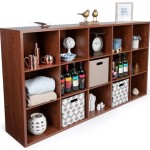
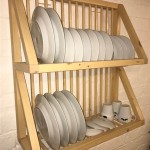
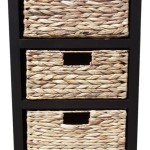
Making your own storage shelves can be a great way to save money and add a unique touch to your home. Whether you need extra storage for books, clothes, or anything else, you can easily make your own shelves to suit your needs. Here, we’ll show you how to build storage shelves in just a few simple steps.
First, you’ll need to measure the area where you want to install your shelves. Make sure to take into account any obstacles, such as windows or furniture, that may interfere with your measurements. Once you have your measurements, you’ll need to purchase the materials. Depending on the size of the shelves, you’ll need wood boards, nails, screws, and any other materials necessary for the construction.
Next, it’s time to start building. Begin by cutting the wood boards to the size of the measurements you took. Make sure the edges are even and smooth. Then, use the nails and screws to assemble the boards. If you need extra support, you can also add some metal brackets to the back of the shelves. Once your shelves are assembled, you can paint or finish them as desired.
Once your shelves are built, you can begin to install them. Start by finding the wall studs and marking them. You can use a stud finder for this or simply knock on the wall and listen for the sound of the hollow space between studs. Once you know where the studs are, you can attach the shelves to the wall. Make sure to use the appropriate screws and anchors to ensure the shelves are securely in place.
Finally, you can load your shelves with whatever you need to store. Make sure to keep heavier items closer to the bottom and lighter items closer to the top. With your DIY storage shelves complete, you can enjoy the extra space and having a custom piece in your home.


Related Posts


